
Radio Station Equipment Guide: What You Actually Need in 2026
Radio Station Equipment Guide: What You Actually Need in 2026
There is a persistent myth in internet radio that you need thousands of dollars worth of gear before you can go on the air. It is not true. Some of the most engaging internet radio stations in the world started with a USB microphone and a laptop. The content matters more than the equipment.
That said, good equipment makes a real difference in audio quality, workflow, and how professional your station sounds. The trick is knowing where to invest and where to save. This guide gives you specific product recommendations across three budget tiers, so you can make smart choices whether you are starting with $200 or $2,000.
The Essential Equipment Categories
Every internet radio station needs the same basic components. The quality and features scale with your budget, but the categories stay the same.
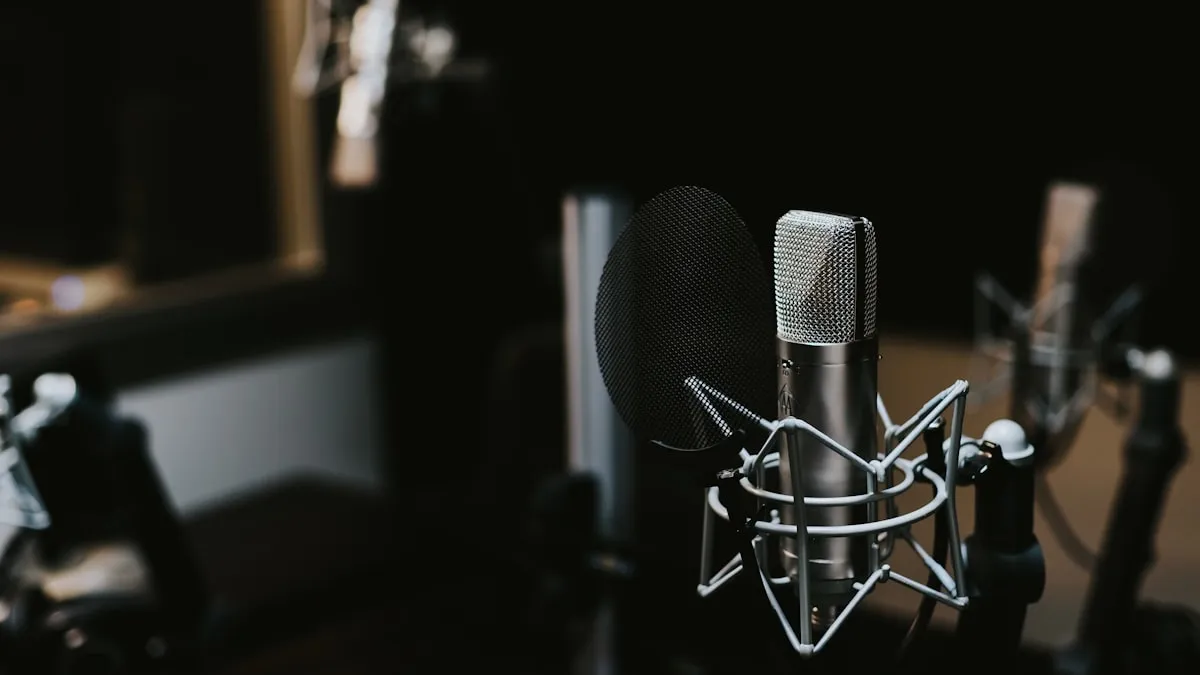
Microphone
The single most important piece of equipment. Your microphone is the first link in the audio chain, and no amount of software processing can fix a bad mic. For spoken-word radio, you want a microphone that captures your voice clearly, rejects background noise, and does not require a perfectly treated room to sound good.
Two main types:
- Dynamic microphones are more forgiving. They pick up less room noise, handle close-up speaking well, and do not need phantom power. They are the standard for broadcast radio for good reason.
- Condenser microphones capture more detail and nuance, but they also pick up more room noise, keyboard clicks, and air conditioning hum. They work best in treated spaces.
For most home-based internet radio stations, a dynamic microphone is the safer choice.
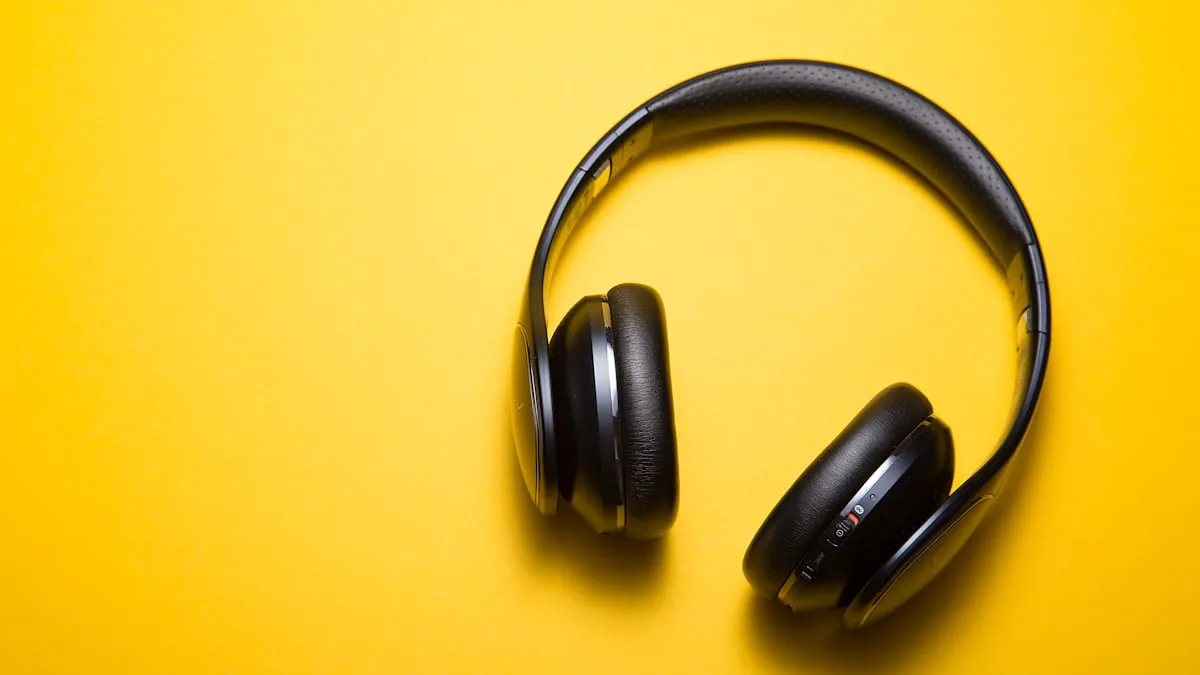
Headphones
You need closed-back headphones for broadcasting. Closed-back means the ear cups are sealed, which prevents audio from leaking out of your headphones and back into your microphone. This matters enormously during live broadcasts.
Look for comfort (you may wear them for hours), accurate sound reproduction (you need to hear what your listeners hear), and a long, detachable cable.
Audio interface
An audio interface converts analog audio (from your XLR microphone) into digital audio that your computer can process. If you use a USB microphone, you do not need a separate audio interface — the conversion happens inside the mic. But if you want to use professional XLR microphones, an audio interface is essential.
Key specs to care about: clean preamp (low noise), at least one XLR input with phantom power, reliable drivers, and low latency.
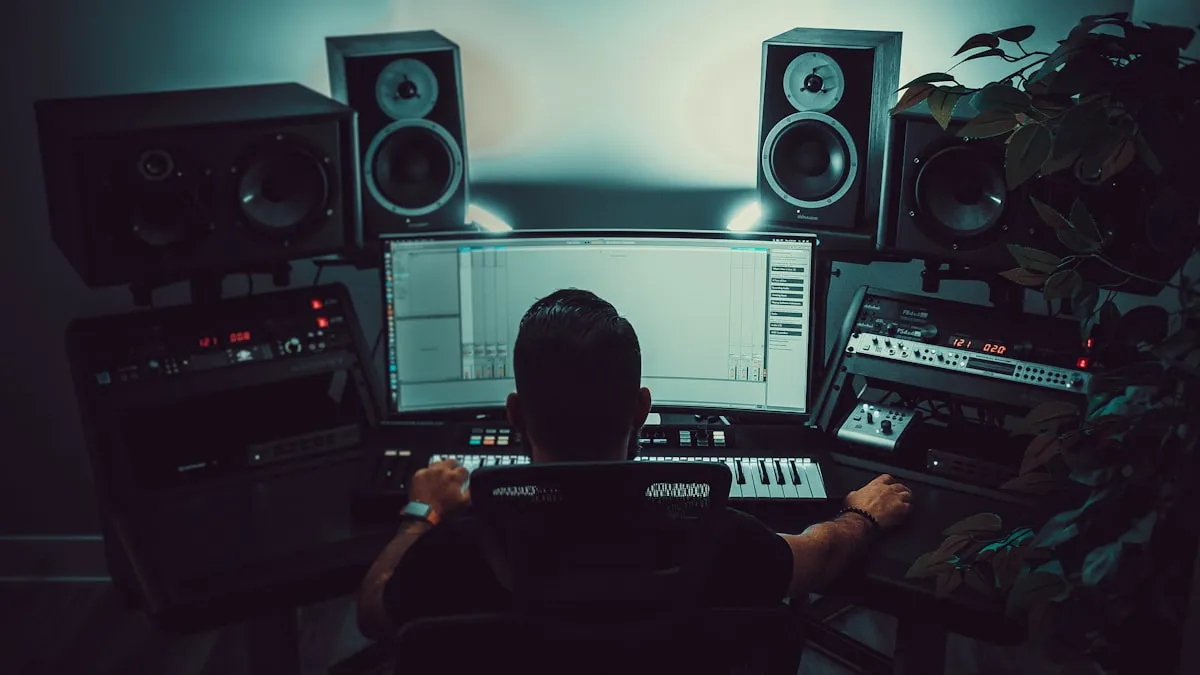
Computer
Good news: you probably already have a computer that works. Internet radio broadcasting is not computationally demanding. Any reasonably modern laptop or desktop with 8GB of RAM, a multi-core processor, and a stable internet connection will handle broadcasting software without breaking a sweat.
The important thing is a reliable internet connection. You need consistent upload bandwidth — at least 1-2 Mbps for a single stream at 128kbps (the encoding plus overhead). Most modern broadband connections handle this easily, but if you are on a shared or unstable connection, that is a bigger problem than a slow CPU.
Software
Broadcasting software manages your playout, automation, and stream encoding. We cover this in detail in our broadcasting software guide, but for the purposes of this equipment guide, know that excellent free options exist (Mixxx, BUTT, AzuraCast), so software does not have to be a budget item.
Budget Tier 1: Getting Started (~$200)
This setup gets you on the air with audio quality that is genuinely good — not "good for the price," but actually good. The secret is the ATR2100x, which punches well above its price point.
Audio-Technica ATR2100x-USB (~$80)
This is the single best budget microphone for internet radio. It is a dynamic mic, which means it rejects background noise naturally. It has both USB and XLR outputs, so you can plug it directly into your computer now (USB) and upgrade to a proper audio interface later (XLR) without buying a new mic. The sound is warm, clear, and surprisingly broadcast-ready.
Headphones: Whatever closed-back pair you have, or Sony MDR-7506 (~$80)
If you already own any decent closed-back headphones, use them. If you need to buy, the Sony MDR-7506 has been an industry standard for decades. They are not glamorous, but they are accurate, comfortable enough for long sessions, and nearly indestructible. Alternatively, the Samson SR850 (~$40) is a semi-open option that works in a pinch if you are in a quiet room.
Pop filter (~$10-15)
A basic mesh or foam pop filter eliminates plosive sounds (the explosive "p" and "b" sounds that cause low-frequency thumps). Even an inexpensive one makes a noticeable difference. Some broadcasters use a foam windscreen that slides over the microphone instead — either works.
Desk stand or basic boom arm (~$15-25)
The ATR2100x comes with a small desk stand. It works, but a basic boom arm (~$25) gives you better positioning and keeps the mic off your desk (reducing vibration pickup). The InnoGear or NEEWER budget boom arms are popular and functional.
Free broadcasting software
Pair this setup with Mixxx (for live shows) or BUTT (for simple streaming), both free and cross-platform. Your total software cost: $0.
Total: ~$185-200
What you get at this tier is clean, intelligible audio that sounds professional enough for listeners to take seriously. You will not win any audio engineering awards, but you will sound better than half the podcasts on Spotify.
Budget Tier 2: Stepping Up (~$500)
This tier moves you from "good enough" to genuinely impressive. The jump in audio quality from Tier 1 to Tier 2 is the biggest you will experience at any price point. You are also switching from USB to XLR, which gives you more control and upgrade flexibility.
Audio-Technica AT2020 XLR (~$100)
A large-diaphragm condenser microphone that delivers studio-quality clarity at a remarkably low price. The AT2020 has been a workhorse in project studios and broadcast setups for years. It captures vocal detail beautifully. The caveat: as a condenser, it picks up more ambient noise than a dynamic mic, so you need a reasonably quiet room.
If your space is noisy (traffic, roommates, HVAC), consider the Audio-Technica AT2005USB (~$80) or the Rode PodMic (~$100) instead. Both are dynamic mics that reject background noise better while still delivering excellent vocal quality.
Focusrite Scarlett Solo (~$120)
The Scarlett Solo is the most popular entry-level audio interface for a reason. It has one XLR input with a clean preamp, phantom power for condenser mics, and rock-solid drivers on both Windows and Mac. Setup takes about two minutes. The preamp quality is a genuine step up from the built-in conversion in USB microphones.
If you anticipate needing two microphone inputs (for interviews or co-hosts), spring for the Focusrite Scarlett 2i2 (~$170) instead. The extra input is worth the $50 premium.
Audio-Technica ATH-M50x (~$150)
These are industry-standard studio monitor headphones. The sound is detailed, relatively flat (accurate), and the bass response is tight without being bloated. They fold for portability and come with three detachable cables (short straight, long straight, coiled). Comfort is good for sessions up to a few hours, though some broadcasters with larger heads find the clamping force firm.
Alternatives worth considering: Beyerdynamic DT 770 Pro 80-ohm (~$160) for superior comfort in long sessions, or Sony MDR-7506 (~$80) if you want to reallocate that budget elsewhere.
Boom arm and shock mount (~$40-60)
A proper boom arm positions your microphone exactly where you need it and keeps it off the desk. The Rode PSA1 (~$100) is the gold standard, but the NEEWER NW-35 (~$30) or Elgato Wave Mic Arm (~$50) are solid budget picks.
A shock mount suspends the mic in elastic bands, isolating it from vibrations traveling through the arm. Many mics come with a basic shock mount or clip. If yours does not, a universal shock mount runs about $15-20.
Metal mesh pop filter (~$15)
Upgrade from the budget foam to a metal mesh pop filter. Metal mesh lasts longer, is easier to clean, and generally provides better plosive rejection. The Stedman Proscreen XL (~$40) is the premium choice, but any metal mesh filter in the $12-20 range works well.
XLR cable (~$15)
One quality XLR cable to connect your mic to your interface. Do not overthink this. A Hosa, Amazon Basics, or Cable Matters XLR cable in the 6-10 foot range is perfectly fine. Avoid cables shorter than 6 feet — you need slack for positioning.
Total: ~$440-500
What you get at this tier is audio that sounds genuinely professional. Listeners will not be able to tell the difference between your setup and a station running $5,000 worth of gear, especially after basic audio processing in your broadcasting software.
Budget Tier 3: The Pro Setup (~$2,000)
This is broadcast-quality gear. If you are building a station that you want to grow into a serious operation — or you just want the best sound possible from day one — this is the tier to aim for.
Shure SM7B (~$400)
The Shure SM7B is the most iconic broadcast microphone in the world. It is a dynamic mic, which means excellent noise rejection, but it delivers a richness and warmth that most dynamics cannot match. It sounds incredible on virtually every voice type. The flat, wide frequency response means it captures natural speech beautifully without harsh peaks.
The SM7B requires a lot of gain from your preamp. The Rodecaster Pro II (below) handles it without issue, but if you pair it with a basic interface like the Scarlett Solo, you may need a Cloudlifter CL-1 (~$150) inline preamp booster.
Alternative: The Electro-Voice RE20 (~$450) is another broadcast legend with a similar dynamic, noise-rejecting character. Slightly brighter than the SM7B, which some voices prefer.
RODECaster Pro II (~$600)
This is the single most impressive piece of equipment in this list. The RODECaster Pro II is an all-in-one production console that combines a 4-channel mixer, audio interface, effects processor, sound pad (for jingles, stingers, and drops), and recorder into one device. It has four XLR/TRS combo inputs, each with individually configurable processing (compression, de-essing, noise gate, EQ), Bluetooth connectivity for phone calls, and USB audio for computer integration.
For an internet radio station, the RODECaster Pro II replaces your audio interface, mixer, and outboard processing in a single, intuitive package. You can plug in the SM7B, set up your voice processing chain, connect to your broadcasting software via USB, and you have a complete broadcast studio.
The physical faders, headphone outputs (for guests), and sound pads make live broadcasting feel professional and fun. It is genuinely a game-changer for small stations.
Beyerdynamic DT 770 Pro 80-ohm (~$160)
Comfortable enough for all-day wear, with a sound profile that is detailed and accurate. The 80-ohm version is the sweet spot for broadcasting — easy to drive from any headphone output while delivering fuller bass than the 250-ohm version. The velour ear pads breathe well and do not get sweaty during long sessions.
Studio monitors: PreSonus Eris E3.5 (~$100)
Studio monitors let you hear your station's output without headphones. Useful for monitoring during music-only segments and for reviewing recordings. The Eris E3.5 are compact, affordable, and accurate enough for broadcast monitoring. You do not need premium monitors here — you are checking for problems, not mixing albums.
Acoustic treatment (~$150-300)
Even the best microphone sounds mediocre in a room full of hard, reflective surfaces. Basic acoustic treatment makes a dramatic difference. Focus on:
- Foam panels on the walls at mic level, especially behind your head and on the wall facing you (~$50-100 for a starter pack)
- A bass trap or two in the corners closest to your mic position (~$30-60)
- A reflection filter behind the microphone if you cannot treat the full room (the Kaotica Eyeball at ~$200 or cheaper alternatives at ~$40-80)
You do not need to cover every wall. Treating the first reflection points and the area immediately around your mic position gets you 80% of the benefit for 20% of the cost.
Accessories (~$100)
- Boom arm: Rode PSA1+ (~$100) or Elgato Wave Mic Arm LP (~$100) — smooth, sturdy, and well-built
- Pop filter: Stedman Proscreen XL (~$40) or metal mesh alternative (~$15)
- XLR cable: 2x quality cables (~$15 each)
- Headphone extension cable if needed (~$10)
Total: ~$1,710-2,000
What you get at this tier is sound that rivals professional FM stations. The SM7B through the RODECaster Pro II is a combination used by radio stations, podcast studios, and content creators worldwide. Your listeners will notice the quality.
Accessories That Matter More Than You Think
Some inexpensive accessories have an outsized impact on your sound and workflow.
Pop filter
Already mentioned, but worth emphasizing: a pop filter is not optional. Plosive pops ruin otherwise good audio, and they are nearly impossible to fix in post. Spend $10-40 on a pop filter and never think about it again.
Boom arm
Getting your microphone off the desk and into the right position (about 4-6 inches from your mouth, slightly off-axis) is one of the biggest improvements you can make. A boom arm also eliminates desk vibrations from reaching the mic.
Shock mount
Isolates the microphone from physical vibrations (bumping the desk, footsteps, keyboard typing). Most high-end mics come with one. If yours does not, a universal shock mount costs $15-20 and is worth every cent.
Cables
Buy one or two spare XLR cables. Cables fail at the worst possible times. Having a backup means a dead cable is a 30-second fix instead of a canceled broadcast.
Uninterruptible power supply (UPS)
If you run 24/7 automated programming, a basic UPS (~$60-100) keeps your computer and equipment running through brief power outages. Not essential for live-only stations, but a smart investment for automated ones.
What You Probably Do NOT Need
An expensive external sound card
Your audio interface is your sound card. The Focusrite Scarlett Solo or RODECaster Pro II handles all the analog-to-digital conversion you need. Do not buy a separate sound card.
A traditional mixing desk
Unless you are running a multi-person talk show with four or more simultaneous microphones, a traditional mixing desk adds complexity without much benefit. The RODECaster Pro II (Tier 3) is a mixer and interface in one. For simpler setups, your audio interface handles everything.
Multiple monitors or a streaming PC
Internet radio broadcasting uses minimal system resources. Your existing computer with a single monitor handles it fine. A dual-monitor setup is a nice quality-of-life upgrade if you already have one, but it is not worth buying for.
Expensive cables
There is no audible difference between a $15 XLR cable and a $50 one in a home radio studio. Buy mid-range cables from reputable brands and ignore the marketing about gold-plated connectors and oxygen-free copper.
A soundproof room
Soundproofing (blocking external noise from entering) is expensive and usually requires construction. What you actually need is sound treatment (reducing reflections inside the room), which is much cheaper. Foam panels, bass traps, and a reflection filter handle most problems. If external noise is an issue, broadcast during quieter hours, close the door, and use a dynamic microphone with good off-axis rejection.
Your Station's Professional Presence
Here is something worth considering: your listeners never see your microphone, your audio interface, or your acoustic panels. They experience your station through two things — your audio stream and your website. And it is ultimately your audience that determines whether your station succeeds.
You might spend $500 on a microphone, but if your station's web presence is a bare-bones page with a broken player and no schedule, listeners will not take you seriously. Conversely, a station with a $80 mic and a polished, professional website with a working live player, a full schedule, DJ profiles, and a podcast archive will feel more established and trustworthy.
The point is not that gear does not matter — it does. The point is that your website is part of your equipment, and it deserves the same thoughtful investment as your microphone.
The Easier Way: RadioSiteMaker
You have just read through equipment recommendations ranging from $200 to $2,000. Here is a number that should put things in perspective: $99/year. That is what a complete, professional station website costs with RadioSiteMaker.
For less than the price of a pop filter and a boom arm, you get:
- Live audio player connected to your stream with real-time now-playing display
- Full schedule grid, DJ profiles, show pages
- Podcast hosting, blog, events, charts, listener dedications
- Donation collection, merchandise showcase, sponsor pages
- Live chat for listener engagement during broadcasts
- Custom domain with your station's branding and colors
- Mobile-responsive design that looks great on every device
No WordPress to maintain. No plugins to update. No developer to hire. You walk through a 10-step setup wizard, and your station website is live alongside your broadcast.
You handle the audio. RadioSiteMaker handles everything your listeners see online.
Start your free trial at RadioSiteMaker.com
Frequently Asked Questions
What is the single most important piece of equipment for an internet radio station?
Your microphone. Everything else can be upgraded or worked around, but a poor microphone means poor audio, and no amount of software processing fully compensates. If you have a limited budget, spend the majority of it on the best microphone you can afford and economize elsewhere. The Audio-Technica ATR2100x-USB at ~$80 is the best value starting point, and the Shure SM7B at ~$400 is the broadcast standard.
Should I buy a USB microphone or an XLR microphone?
If you are just starting out and want the simplest setup, a USB microphone is perfectly fine. The Audio-Technica ATR2100x-USB is a USB mic that sounds surprisingly professional. If you plan to grow your station or want more control over your audio chain, go with an XLR microphone and a dedicated audio interface. XLR setups offer better preamps, more flexibility, and an upgrade path that does not require replacing the mic.
Do I need acoustic treatment for my broadcasting space?
It depends on your room and your microphone. Dynamic microphones (ATR2100x, SM7B, RE20) are forgiving and reject a lot of room noise naturally. You can broadcast from an untreated room with a dynamic mic and get acceptable results. Condenser microphones (AT2020) pick up more room ambience, so some treatment is recommended. At minimum, record in a room with soft furnishings (carpet, curtains, a couch) rather than a bare room with hard walls. A set of foam panels behind and beside your mic position costs $50-100 and makes a significant difference.
Can I use my gaming headset as a radio microphone?
Technically, yes. Practically, your listeners will notice the difference. Gaming headset microphones are designed for voice chat clarity, not broadcast quality. They tend to sound thin, compressed, and noisy compared to even a budget standalone microphone. If a gaming headset is all you have on day one, use it to get started — but upgrade to a proper mic as soon as you can. The jump in quality from a headset mic to even an $80 ATR2100x is dramatic.
How much should I budget for my first year running an internet radio station?
A realistic first-year budget breaks down roughly like this: equipment ($200-2,000 depending on tier, one-time cost), streaming hosting ($60-360/year), music licensing ($200-600/year for small US stations), station website ($99/year with RadioSiteMaker), and domain name ($10-15/year). That puts your first-year total between roughly $570 and $3,075. Most new stations land somewhere in the $500-1,000 range, which is remarkably affordable for a real broadcasting operation.

Founder of RadioSiteMaker. Passionate about making professional radio station websites accessible to every broadcaster.
Get radio station tips in your inbox
Free guides on growing your audience, building your website, and running a better station. No spam, unsubscribe anytime.
Related Articles
How to Start an Internet Radio Station: The Complete Guide for 2026
Everything you need to know about starting an internet radio station in 2026. From licensing and equipment to streaming software and building your audience.
Best Internet Radio Broadcasting Software in 2026
Compare the top internet radio broadcasting software for 2026. From free open-source options to professional tools — find the right software for your station.
How to Grow Your Radio Station Audience: 15 Proven Strategies
Actionable strategies to grow your internet radio station audience. From SEO and social media to community building and cross-promotion.
Skip the WordPress hassle
Your radio station website, live in 10 minutes. Custom domain, live player, schedule, podcasts, blog — everything included for $99/year.
Start Your Free Trial